Do It In Your Style: Build a DIY Privacy Fence
Sometimes all you want to do is lounge in the garden and take a relaxing sunbath. But miscreants are everywhere - they'll peep into your home and make you feel uncomfortable (who knows what else they can do!). An unfenced property makes it easy for people to get a view of your personal life that is better kept hidden.
So, if you wish to ensure that all your privacy stays within closed doors, it is time to get working!
Installing a DIY fence is an excellent way of ensuring that you get the necessary privacy and boundary you need - without spending a ton of money installing a brand new fence. Also, with DIY fences, you understand your property needs the best! Without further ado, let's get right into the steps of installing a DIY fence in Buffalo!
 |
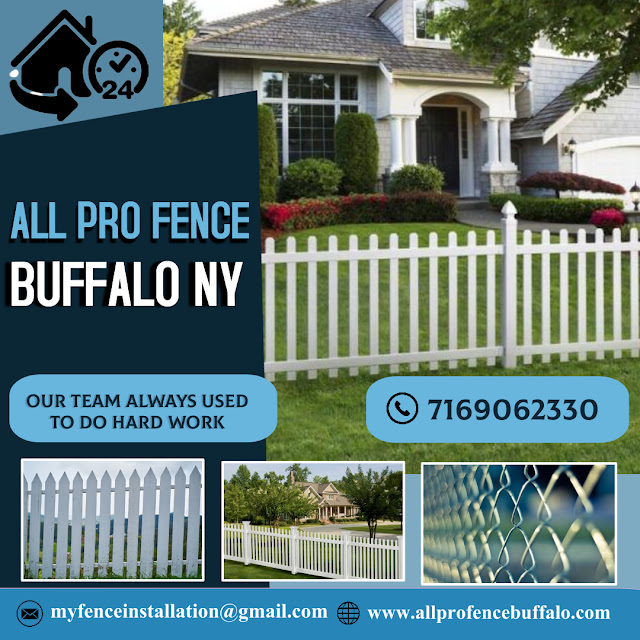
| DIY Fence in Buffalo |
Installing DIY Fence Project
Step 1
Firstly, before you lay your hands on anything, you need to check with the homeowner's association or the local officials whether you're even allowed to install a fence yourself and what rules you're supposed to follow.
While inquiring, you'll encounter many restrictions on the length of the fence and which part of the house you are allowed to install it on.
Step 2
Next, you need to determine where your fence will go. Find property line markers to ensure correct placement.
Step 3
Now you will need to mark the utilities. But wait! Before you do so, you need to get utilities like gas line, water line, sewer, cable, phone, fiber optics, and everything else marked properly. Because starting a fencing project without marking utilities is illegal, which can end up in big trouble with the officials.
Step 4
In this step, you need to mark the distance of your total fence using a long tape. Also, use a string to ensure that all your posts align in a straight line.
Step 5
Now you need to dig up the post holes; be sure to stay far, far away from the utilities. You can get in the complete DIY groove by using a manual post-hole digger. However, you can stay away from trouble by renting or purchasing a gas-powered auger to do the job.
Step 6
Now lay out the woods of each section and put the posts in. Put 3 to 4 inches of gravel inside to ensure that the posts remain sturdy and do not fall away.
Step 7
Finally, you need to attach all the rails - from top to bottom and left to right. Don't forget to attach pickets using an air nailer or 2-inch screws. Finish it off with a classic DIY fence gate of your choice.
Get top-notch DIY fence materials from All pro fence!
If it's the materials acquiring part stopping you from getting a DIY fence, then leave it to All pro fence! They'll equip you with excellent quality materials that will help create a strong fence. They will also assist you with your DIY Fence project!
Don't wait anymore! Your privacy is in your own hands!
.jpg)
Comments
Post a Comment